

Installation videos
The videos have a fullscreen button that allows you to view the video with your entire screen.
The videos have a fullscreen button that allows you to view the video with your entire screen.
Monteringsvideoer på norsk
Monteringsvideoer på dansk
Filmy w języku polskim (Polish videos)
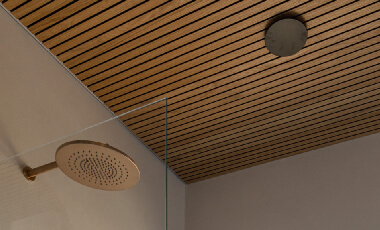
Ceiling panels are normally installed on the existing ceiling framework. If necessary, install studs at 400 mm intervals. Leave a 5 mm expansion gap between the panel and the wall surface.
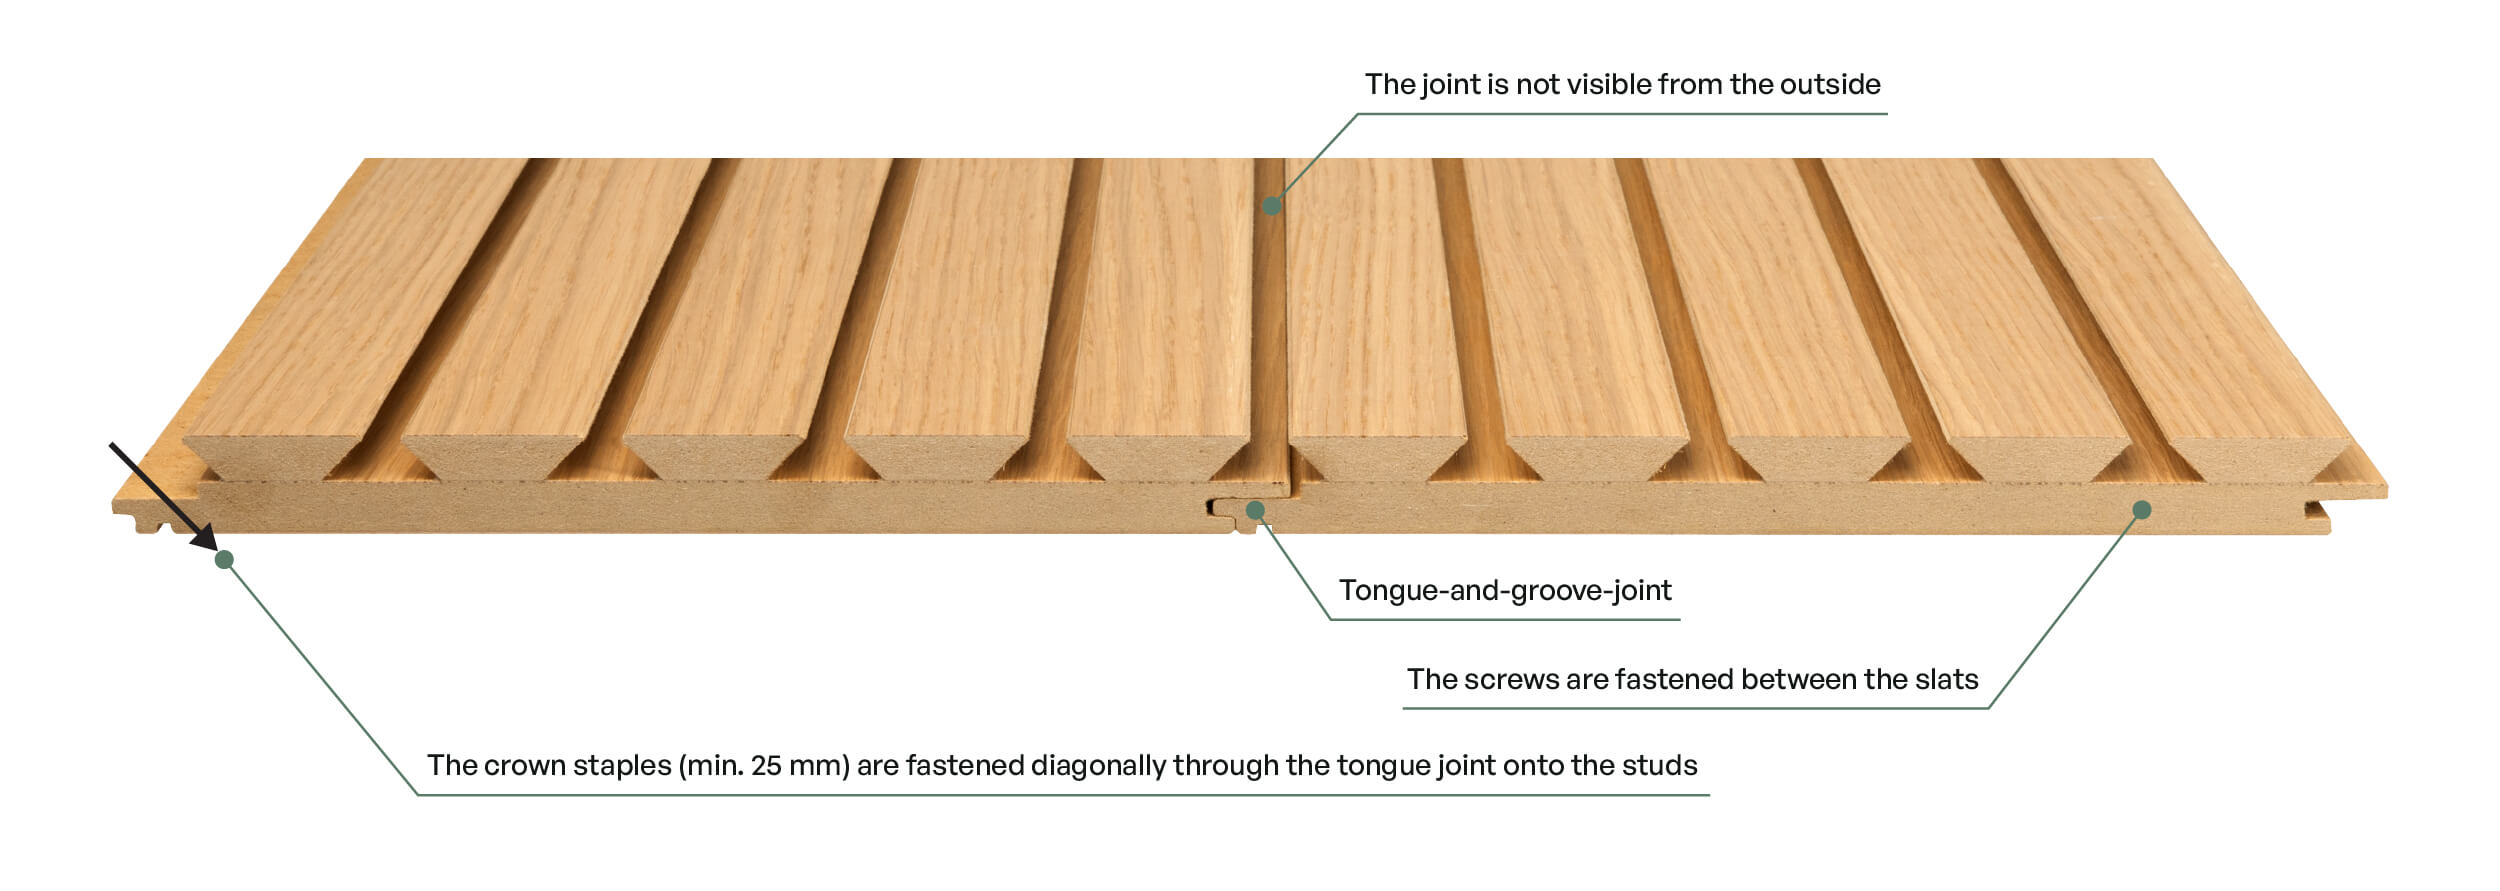
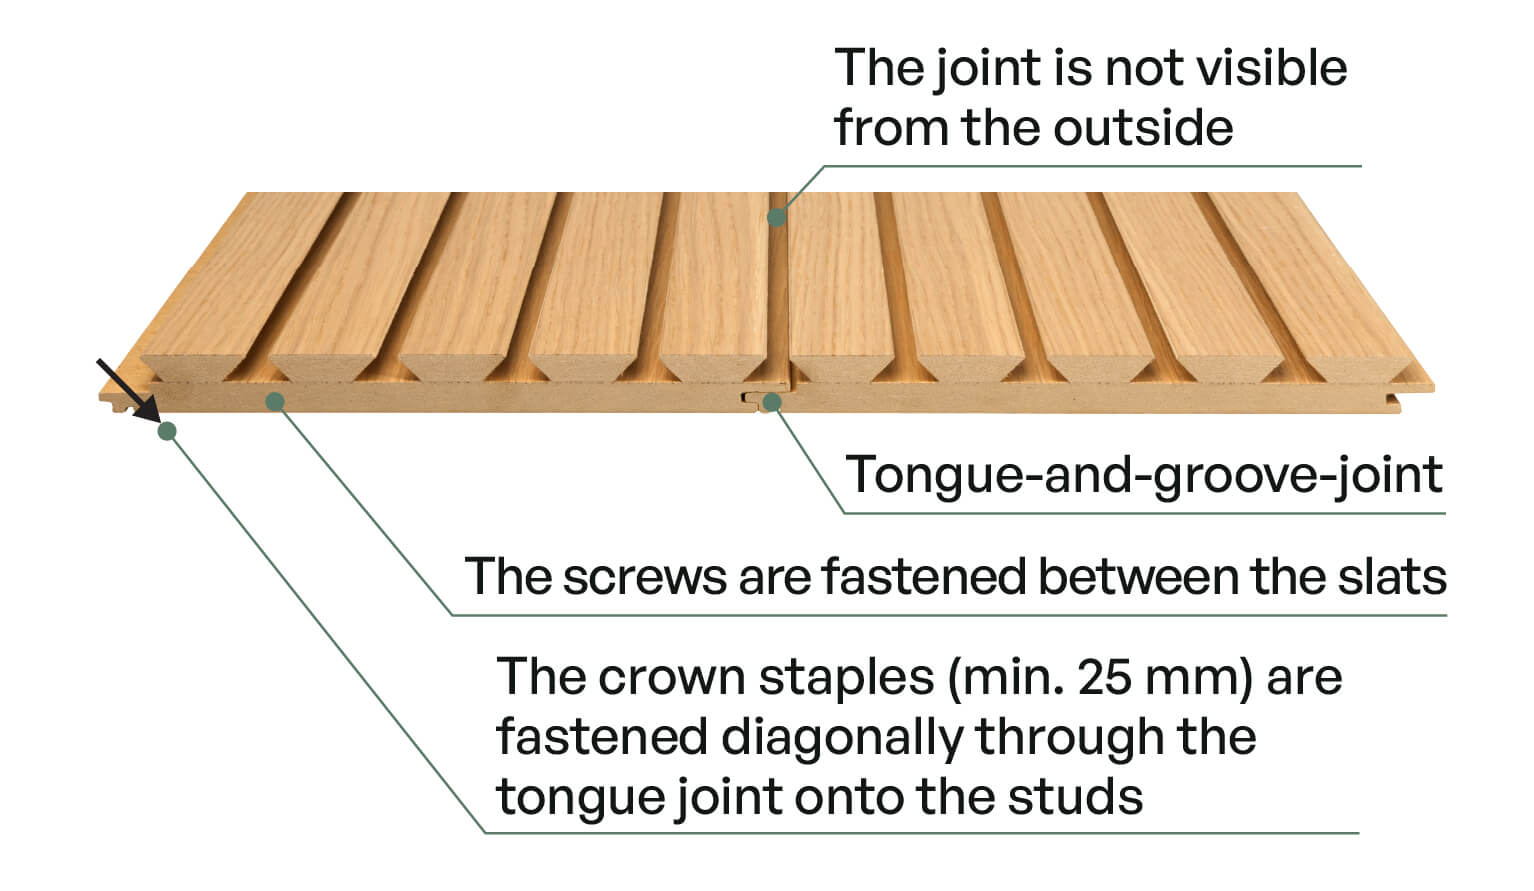
Panels with a black base are fastened with black screws between the slats onto the studding. Use 8 screws per panel, alternating the screw positions between different slat gaps along the panel.
Panels with a veneered base are fastened onto the studding using crown staples and construction adhesive. Start by applying adhesive to the studs – small dabs here and there are sufficient. The staples should be fastened diagonally through the tongue joint. The staple length must be at least 25 mm. Fasten 2–3 staples per stud, depending on its width.
Leave a 5 mm expansion gap at both ends and along the edges of the panel wall. There are a couple of installation options depending on the wall material.
Screws are always included in the delivery, crown staples need to be purchased separately.
Cut-outs
Drill holes for sockets and light switches from the slat side of the panel, and protect the surface with tape before drilling. The tape prevents the veneer from tearing. Carefully measure and mark the position of the socket on the tape before drilling. After drilling, remove the tape carefully towards the centre of the hole.
Panel width adjustment
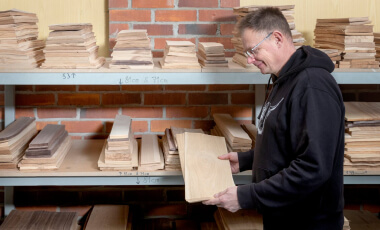
The nominal effective width of one panel is 217 mm, but this may vary slightly (217–218 mm) depending on humidity. You can check the exact width by laying 5–10 panels together on the floor, joined by the tongue and groove. Plan the installation so that the first and last slat on the surface are of equal width. For longitudinal cuts, use a circular saw or a table saw.
Safe mounting of heavy objects
Heavy objects (such as a TV or chandelier) must be mounted securely through the panel into the studding using screws of sufficient length.
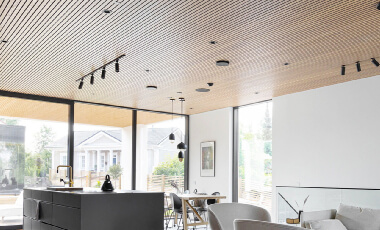
Ceiling panels are normally installed on the existing ceiling framework. If necessary, install studs at 400 mm intervals. Leave a 5 mm expansion gap between the panel and the wall surface.
Acoustic panels are fastened onto the studding using crown staples. The staples should be fastened diagonally through the tongue joint. The staple length must be at least 25 mm. Fasten 2–3 staples per stud, depending on its width.
To strengthen the installation, fasten a few additional screws per panel in the areas where the solid baseboard meets the stud, avoiding the acoustic openings.
Leave a 5 mm expansion gap at both ends and along the edges of the panel wall. Install horizontal studding at 600 mm intervals.
Acoustic panels are fastened onto the studding using crown staples. The staples should be fastened diagonally through the tongue joint. The staple length must be at least 25 mm. Fasten 2–3 staples per stud, depending on its width.
To strengthen the installation, fasten a few additional screws per panel in the areas where the solid baseboard meets the stud, avoiding the acoustic openings.
Black screws are always included in the delivery, but crown staples must be purchased separately.
Cut-outs
Drill holes for sockets and light switches from the slat side of the panel, and protect the surface with tape before drilling. The tape prevents the veneer from tearing. Carefully measure and mark the position of the socket on the tape before drilling. After drilling, remove the tape carefully towards the centre of the hole.
Panel width adjustment
The nominal effective width of one panel is 217 mm, but this may vary slightly (217–218 mm) depending on humidity. You can check the exact width by laying 5–10 panels together on the floor, joined by the tongue and groove. Plan the installation so that the first and last slat on the surface are of equal width. For longitudinal cuts, use a circular saw or a table saw.
Safe mounting of heavy objects
Heavy objects (such as a TV or chandelier) must be mounted securely through the panel into the studding using screws of sufficient length.
1. Due to the hardness of high-pressure laminate (HPL), it is recommended to obtain any necessary cutting tools for drilling before starting the installation. When cutting larger openings, we recommend using a jigsaw with a metal blade. Smaller holes can be made with a hole saw suitable for metalworking.
2. The panel is fixed using black stainless steel screws through the 8 mm groove between the slats. Because of the hardness of HPL, pre-drilled holes are required — a 5 mm metal drill bit works well for this.
All drilling should be completed before installing the ceiling panels. Install the panels with 400 mm spacing, securing each panel with one screw per batten. Alternate the screw position from one side of the panel to the other on each successive batten. The screws and a 5 mm drill bit are included with the delivery.
3. Leave a few millimetres of expansion gap between the first row of panels and the wall or ceiling surface. If a ventilation gap is required, 20 mm is usually sufficient on both edges of the ceiling panel (confirm this with the designer).
4. There are pre-drilled holes at the ends of the panels for metal dowels. The dowels help to align the panels correctly at the joints. Leave a 2 mm expansion gap at the panel ends.
5. The panel sides are fitted with a half-lap joint. The joint should not be tightened completely to the bottom, so that the slat spacing remains 8 mm wide. Use an 8 mm spacer gauge between the panels, as well as the 8 mm installation tool. The tool’s pins are inserted into the holes at the ends of the panels to ensure the correct spacing. The spacer gauge and installation tool are included in the delivery.
6. We recommend positioning all panel joints directly over the supporting battens.
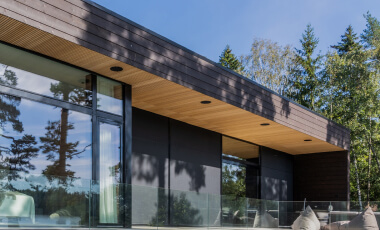
If necessary, install studs at 600 mm intervals on walls and 400 mm intervals on ceilings. Leave a 5 mm expansion gap at both ends and along the edges of the panel wall.
The effective width of one panel is 217 mm. The surface dimensions rarely match exactly with our panel width, so the first and last panel usually need to be cut narrower (and to the same width). Panels can be installed either horizontally or vertically.
Panel installation should be carried out from bottom to top, with the tongue joint facing forward. For the best result, use a crown stapler with staples of at least 25 mm in length. Adjust the compressor pressure so that the staple crown does not sink too deep into the panel, nor remain raised above the surface.
Fasten the staples through the tongue joint, ensuring that the staple is positioned beneath the groove joint – i.e., hidden by the next panel. Fasten 2–3 staples per stud, depending on its width.
Crown staples need to be purchased separately.
Cut-outs
Drill holes for sockets and light switches from the visible side of the panel, and protect the surface with tape before drilling. The tape prevents the veneer from tearing. Carefully measure and mark the position of the socket on the tape before drilling. After drilling, remove the tape carefully towards the centre of the hole.
Panel width adjustment
The nominal effective width of one panel is 217 mm, but this may vary slightly (217–218 mm) depending on humidity. You can check the exact width by laying 5–10 panels together on the floor, joined by the tongue and groove. Plan the installation so that the first and last panels are of equal width. For longitudinal cuts, use a circular saw or a table saw.
Safe mounting of heavy objects
Heavy objects (such as a TV or chandelier) must be mounted securely through the panel into the studding using screws of sufficient length.
